Quick Answer: What Causes Most Sump Pump Failures?
Float switch failure causes 60% of all sump pump breakdowns in the Greater Toronto Area. The float mechanism—whether vertical, tethered, electronic, or diaphragm—gets stuck, tangled, or waterlogged, preventing the pump from activating when water rises. Monthly testing catches 90% of float problems before pump failure. (647) 554-4356 for professional diagnosis.
Key Takeaways
- 60% of pump failures are caused by float switch problems (stuck, tangled, waterlogged)
- 4 main float types: Vertical ($25-40), Tethered ($20-35), Electronic ($60-120), Diaphragm ($45-80)
- Monthly testing prevents 90% of float-related basement floods
- DIY testing takes 5 minutes using the water bucket method
- Professional replacement: $150-350 including parts, labor, and 90-day warranty
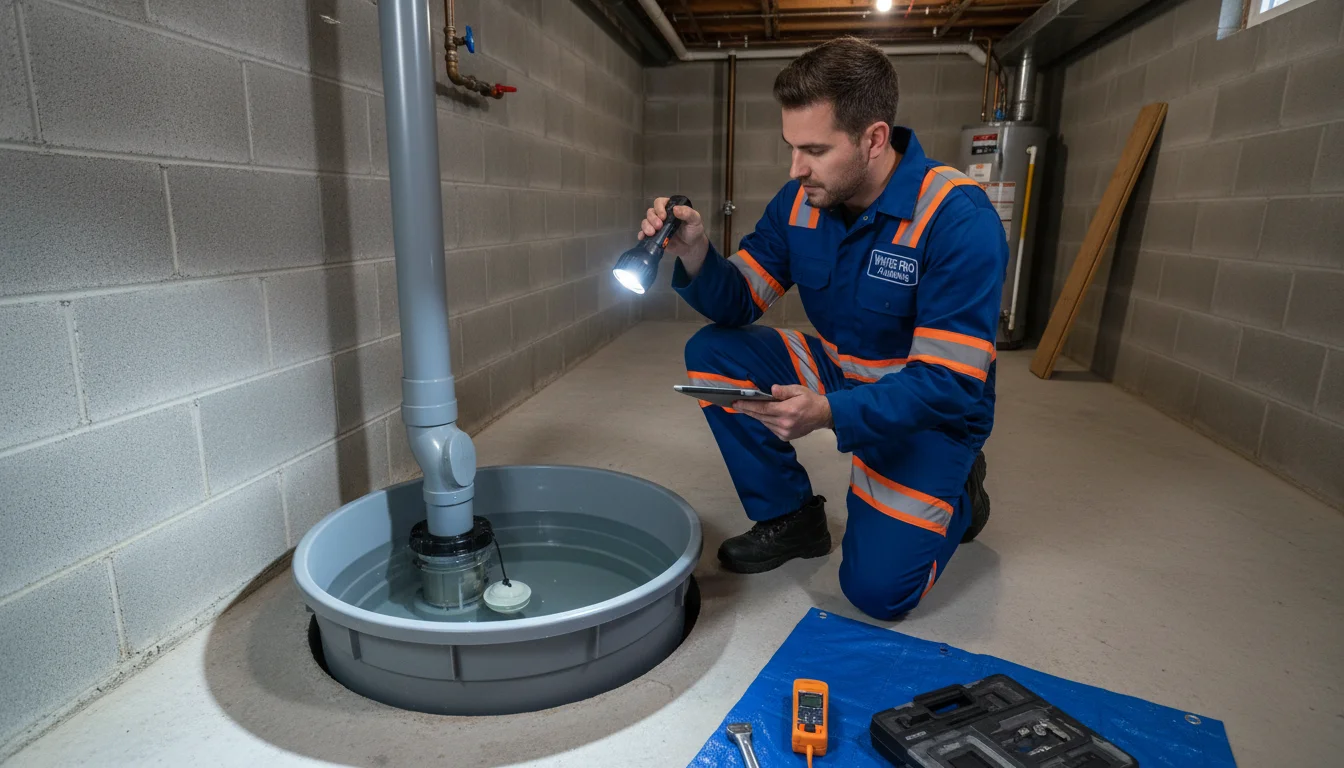
After 28 years of emergency sump pump calls across Toronto, I've seen the same pattern repeat: a basement floods during heavy rain, the homeowner rushes downstairs to find the sump pit overflowing, and the pump motor humming uselessly. The culprit? A stuck float switch.
Here's the frustrating part—in 60% of these cases, the pump motor itself is fine. The float switch simply failed to trigger the pump when water rose. A $30 part caused thousands of dollars in water damage. Need immediate help? Call (647) 554-4356 for 24/7 emergency float switch repair.
Why Float Switches Are the Weakest Link
Your sump pump has two main jobs: detect rising water (float switch) and pump it out (motor). The motor is robust—most last 7-10 years. But the float switch? It's constantly moving, submerged in dirty water, fighting debris, and cycling hundreds of times per year. It's the mechanical weak point.
How Float Switches Work (The Simple Version)
Think of a float switch like a toilet tank float. As water rises, the float lifts. At a certain height, it triggers an electrical switch that turns on the pump motor. When water drains and the float drops, the switch opens and the motor stops. Simple concept, but many failure points.
The 5 Most Common Float Switch Failures in Toronto
- Stuck Float: Debris wedges the float against the pit wall or discharge pipe (35% of failures)
- Tangled Tethered Float: The cable wraps around pipes or the pump itself (25% of failures)
- Waterlogged Float: Water infiltrates the float ball, making it too heavy to rise (15% of failures)
- Mechanical Wear: Pivot points seize up from mineral deposits common in Toronto water (15% of failures)
- Electrical Failure: Switch contacts corrode from constant moisture (10% of failures)
⚠️ Spring Thaw Warning for Toronto Homeowners
March-April sees 3x normal sump pump activity due to snowmelt. Float switches that barely functioned all winter fail under heavy load. Test your float switch in late February before the spring thaw. Flooded basements during spring break are no vacation. Call (647) 554-4356 for pre-season inspection.
The 4 Main Types of Float Switches (And Which Works Best)
Not all float switches are created equal. Here's what 28 years of pump installs have taught me about each type's strengths and weaknesses in Toronto's unique conditions.
| Float Type | Cost | Lifespan | Best For | Failure Rate |
|---|---|---|---|---|
| Vertical Float | $25-40 | 5-7 years | Standard 18"+ pits | Low (15%) |
| Tethered Float | $20-35 | 3-5 years | Large open pits | High (45%) |
| Electronic Switch | $60-120 | 7-10 years | Small/tight pits | Very Low (8%) |
| Diaphragm Switch | $45-80 | 8-12 years | High-debris environments | Low (12%) |
1. Vertical Float Switch ($25-40)
How it works: A float slides up and down a vertical rod attached to the pump. As water rises, the float lifts until it trips a switch at the top of the rod.
Pros:
- Most reliable design—simple mechanics, fewer failure points
- Easy to test manually (lift the float to trigger pump)
- Inexpensive and widely available at any Toronto hardware store
- Works well in standard-sized pits (18+ inches diameter)
Cons:
- Requires adequate clearance—won't work in tight pits under 16 inches
- Float can stick on rod due to mineral buildup or debris
- Vertical rod can interfere with pit cover placement
💡 Pro Tip from Mike
Vertical floats are my #1 recommendation for Toronto homes with standard sump pits. They're the "workhorse" design—reliable, affordable, and easy to diagnose when problems occur. Just test them monthly by lifting the float to ensure smooth vertical travel.
2. Tethered Float Switch ($20-35)
How it works: A hollow ball floats on water, attached to the pump by a flexible cable. As water rises, the ball floats up and eventually the cable pulls a switch.
Pros:
- Cheapest option—often comes pre-installed on budget pumps
- Works in large, open sump pits with plenty of float travel space
- No vertical rod to interfere with pit access
Cons:
- Highest failure rate (45%)—cable tangles around discharge pipes or pump itself
- Float ball can waterlog if the seam cracks (common after 2-3 years)
- Requires 20+ inches of clearance to prevent tangling
- Difficult to troubleshoot—hard to see cable position underwater
⚠️ Toronto Basement Reality Check
Most Toronto basements have 16-18 inch sump pits—too small for tethered floats. If your tethered float has failed twice in 3 years, upgrade to a vertical or electronic switch. The $20 savings isn't worth a $5,000 basement flood. Need help choosing? (647) 554-4356
3. Electronic Float Switch ($60-120)
How it works: A pressure sensor or electronic probe detects water level—no moving mechanical parts in the water. The switch is solid-state electronics.
Pros:
- Most reliable—no mechanical parts to stick, tangle, or waterlog
- Works in extremely tight pits (as small as 12 inches diameter)
- Precise water level control—adjustable activation points
- Longest lifespan (7-10 years typical)
Cons:
- 3-5x more expensive than mechanical floats
- Requires proper installation—sensor must be positioned correctly
- Electronic components can fail in power surges (use surge protector)
- Not all pumps support electronic switch retrofits
4. Diaphragm Switch ($45-80)
How it works: An air-filled chamber responds to water pressure. As water rises, increasing pressure compresses the air diaphragm, triggering a switch.
Pros:
- No moving parts in water—highly reliable in dirty/debris-filled pits
- Works in pits with heavy sediment (common in older Toronto homes)
- Long lifespan (8-12 years) with minimal maintenance
- More affordable than electronic switches
Cons:
- Requires specific pump models—not universal
- Air chamber can develop leaks over time
- Harder to find at local hardware stores
How to Test Your Float Switch (5-Minute DIY Method)
You don't need to be a plumber to test your float switch. This simple procedure catches 90% of problems before they cause basement flooding. Do this monthly—especially before spring thaw and heavy rain forecasts.
Float Switch Testing Checklist (Do This Monthly)
- Locate circuit breaker—verify pump power is ON
- Remove sump pit cover (if present)
- Slowly pour 5 gallons of water into pit
- Watch float rise—pump should activate within 2-3 seconds
- Observe complete pump cycle—water should drain to low level
- Check for smooth float movement—no sticking or hesitation
- Inspect float for cracks, water infiltration, or damage
- Test manual override (lift float if accessible)
- Listen for unusual motor sounds during operation
- Replace pit cover securely after testing
The Water Bucket Test (Step-by-Step)
What you need: 5-gallon bucket, water, flashlight
- Turn ON the circuit breaker powering your sump pump (critical—many failures are just tripped breakers)
- Remove the sump pit cover to access the pump and float
- Slowly pour 5 gallons of water into the pit while watching the float rise
- The pump should activate when water reaches 6-8 inches depth (varies by float type)
- Watch the complete cycle: Pump runs until water drops to 2-4 inches, then shuts off
- Repeat 2-3 times to ensure consistent activation
What a GOOD Test Looks Like
- ✓ Float rises smoothly as water level increases
- ✓ Pump activates at consistent water level (usually 6-8 inches)
- ✓ Pump runs steadily without unusual noises
- ✓ Pump shuts off automatically when water level drops
- ✓ Float returns to rest position freely
Warning Signs (Call a Professional)
- ✗ Float sticks or moves jerkily on rod/cable
- ✗ Pump doesn't activate even when water reaches 10+ inches
- ✗ Pump runs but float doesn't trigger shut-off
- ✗ Float feels heavy or waterlogged
- ✗ Motor hums but doesn't pump water
- ✗ Burning smell or sparking from pump area
If you see ANY of these warning signs, call (647) 554-4356 immediately. Waiting until the next rainstorm is gambling with thousands in flood damage.
Diagnosing Float Switch Problems (Troubleshooting Guide)
When your float switch fails, quick diagnosis prevents basement flooding. Here's how to pinpoint the exact problem in under 10 minutes.
Problem 1: Float Stuck in Up Position (Pump Won't Stop)
Symptoms: Pump runs continuously even when pit is empty, burning out motor
Causes:
- Vertical float wedged against discharge pipe or pit wall
- Tethered cable wrapped around pump housing
- Debris (gravel, tools, chunks of concrete) blocking float descent
Fix:
- Turn off pump power at breaker (CRITICAL—never work on powered pump)
- Remove pit cover and visually inspect for obstructions
- Manually push float down—if it doesn't spring back up freely, find the blockage
- Clear debris and reposition discharge pipe if needed
- Test pump cycle before replacing cover
Problem 2: Float Stuck in Down Position (Pump Won't Start)
Symptoms: Water rises but pump never activates—leads to basement flooding
Causes:
- Waterlogged float (too heavy to rise)
- Float rod seized with mineral deposits
- Tethered cable tangled below water line
- Electrical switch corroded and stuck open
Fix:
- Manually lift float to activate pump—if pump runs, problem is mechanical float failure
- If pump doesn't run even when manually triggered, problem is electrical (switch or motor)
- For waterlogged floats: Remove and shake—if you hear sloshing, replace immediately ($20-40)
- For seized rods: Clean with CLR or vinegar, lubricate pivot points with silicone spray
- For tangled cables: Untangle and secure cable to prevent future wrapping
💡 Pro Tip from Mike
The "Lift Test" is your diagnostic secret weapon. Manually lift the float (or tethered ball) while pump is powered. If the pump runs, your float mechanism is bad but the pump/motor is fine. If the pump doesn't run, the problem is electrical or the motor has failed. This 10-second test tells you whether you need a $30 float or a $400 new pump.
Problem 3: Intermittent Float Failures (Works Sometimes)
Symptoms: Pump works during testing but fails during actual rain events
Causes:
- Marginal float that sticks under load (debris, water flow)
- Electrical switch contacts dirty/corroded—work sometimes, fail under current
- Loose wiring at switch connection
- Float barely clearing obstruction—works in calm water, fails when water rushes in
Fix:
- Perform aggressive testing: Pour 10 gallons rapidly to simulate storm conditions
- Cycle pump 10 times in a row—intermittent problems often appear on 5th+ cycle
- Inspect all electrical connections for corrosion or looseness
- Clean switch contacts with electrical contact cleaner
- If problem persists, replace float switch—marginal components fail at worst times
When and How to Replace a Float Switch
Most float switches should be replaced every 5-7 years as preventive maintenance—don't wait for failure. Here's when immediate replacement is necessary:
Replace Immediately If:
- Float is waterlogged (feels heavy, doesn't float properly)
- Visible cracks or damage to float body
- Switch fails the monthly water bucket test twice in a row
- Float sticks frequently despite cleaning
- Tethered cable is frayed, kinked, or deteriorating
- Electrical switch sparks or smells burnt
- Pump is 7+ years old with original float (replace proactively)
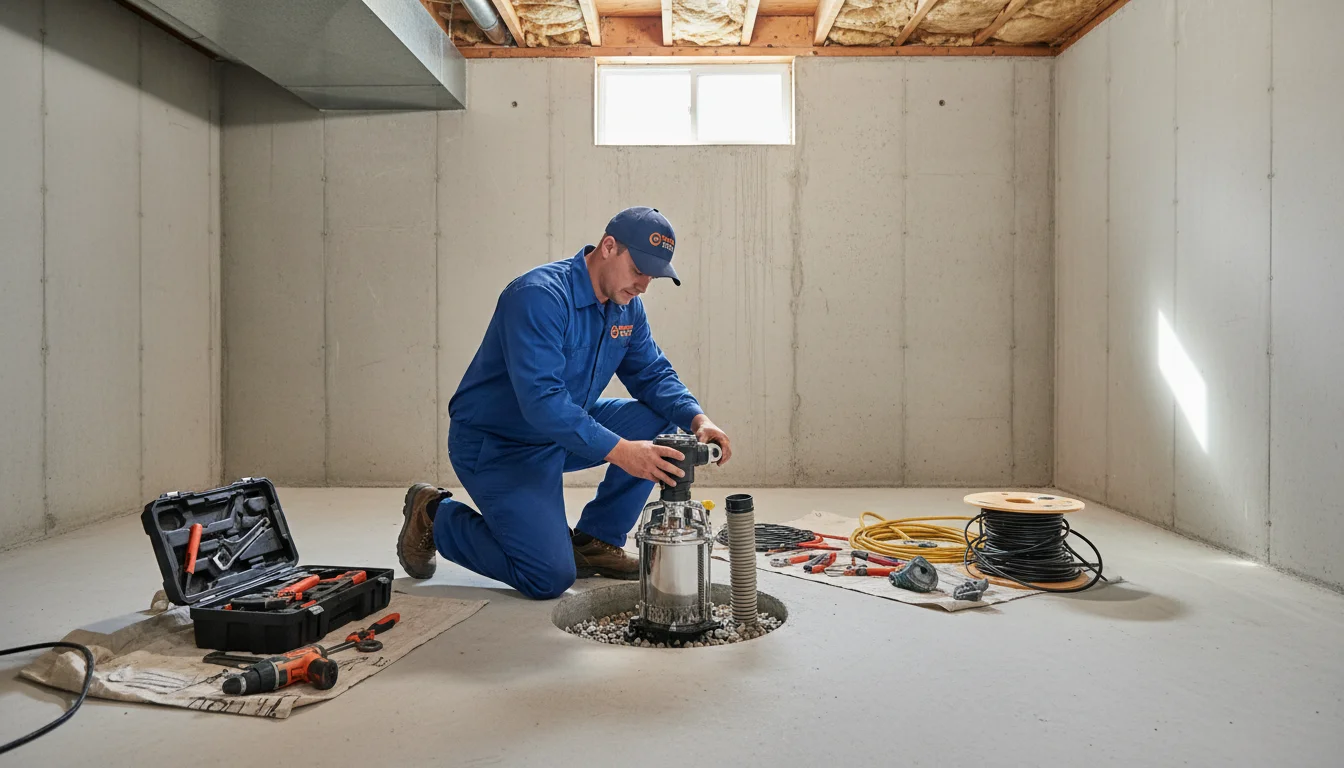
DIY Float Switch Replacement (Step-by-Step)
Difficulty: Moderate (2/5) if you're comfortable with basic electrical work
Time: 30-60 minutes
Cost: $25-120 (parts only)
Tools needed:
- Replacement float switch (match your pump model)
- Screwdriver set (Phillips and flathead)
- Wire strippers (for electrical connections)
- Electrical tape or wire nuts
- Flashlight
- Bucket (to test after installation)
Installation steps:
- TURN OFF POWER at the circuit breaker—verify pump doesn't run (test with bucket)
- Photograph existing wiring before disconnecting anything (critical reference)
- Disconnect old float switch electrical wires (note wire colors/positions)
- Remove old float assembly (usually clips or screws to pump body)
- Install new float switch following manufacturer instructions (critical: same orientation)
- Connect electrical wires matching your photo (typically: hot to hot, neutral to neutral, ground to ground)
- Secure all connections with wire nuts and electrical tape
- Turn power back ON at breaker
- Test 3 times using water bucket method—verify consistent activation
- Replace pit cover and document replacement date (mark on pump or pit cover)
⚠️ When to Call a Professional Instead
If you're not comfortable working with electrical wiring, hire a licensed plumber. Incorrect wiring can cause pump failure, electrical shock, or fire. Professional installation costs $150-350 including parts and comes with a 90-day warranty. One basement flood costs more than 10 professional float switch replacements. Call Water Pro at (647) 554-4356 for same-day service.
Float Switch Replacement Costs (Toronto Pricing)
Here's what Toronto homeowners actually pay for float switch repair and replacement in 2025:
| Service | DIY Cost | Professional Cost | What's Included |
|---|---|---|---|
| Vertical Float Switch | $25-40 | $150-220 | Parts, labor, testing, 90-day warranty |
| Tethered Float Switch | $20-35 | $140-200 | Parts, labor, testing, 90-day warranty |
| Electronic Switch Upgrade | $60-120 | $220-350 | Premium switch, installation, calibration, 1-year warranty |
| Diaphragm Switch | $45-80 | $180-280 | Parts, labor, pressure testing, 90-day warranty |
| Emergency Service | N/A | $250-450 | After-hours/weekend, same-day service, parts, labor |
| Diagnostic Service | Free (DIY) | $95-150 | Professional testing, diagnosis, recommendations (waived if repaired) |
Need professional float switch service? Call (647) 554-4356 for upfront pricing. No hidden fees, no surprises.
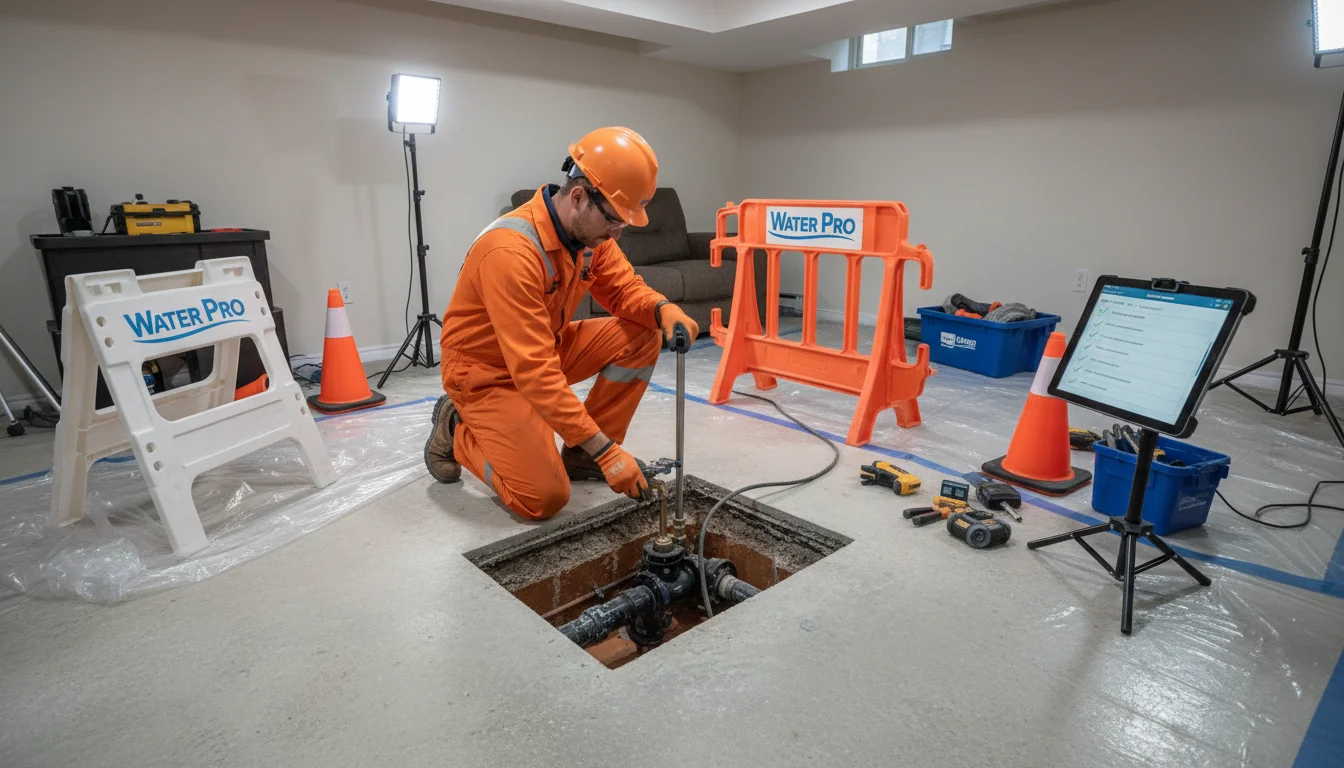
What Professional Installation Includes
- ✓ Complete sump pump diagnostic (not just float switch)
- ✓ Correct float type selection for your pit size and conditions
- ✓ Proper electrical connections and wire management
- ✓ Testing under simulated heavy-flow conditions
- ✓ Pit cleaning (removal of debris that caused float issues)
- ✓ 90-day parts and labor warranty
- ✓ Maintenance tips specific to your system
Preventing Float Switch Failures (Maintenance Tips)
The best float switch repair is the one you never need. These simple maintenance steps extend float life by 3-5 years and prevent 90% of failures.
Monthly Tasks (5 Minutes)
- Test float activation using the water bucket method
- Visually inspect float for cracks, damage, or debris
- Check pit for debris that could obstruct float travel
- Listen to pump cycle—unusual sounds indicate problems
Quarterly Tasks (15 Minutes)
- Clean sump pit—remove sediment and debris (common in spring/fall)
- Inspect float cable/rod—look for wear, corrosion, or loose connections
- Test manual float lift—should move smoothly without binding
- Check discharge pipe—ensure it's not creating obstructions near float
Annual Tasks (30-60 Minutes)
- Full system inspection including float, pump, check valve, and discharge line
- Clean pump intake screen—prevents motor overload
- Test during heavy simulated flow—pour 20 gallons rapidly
- Inspect electrical connections—tighten loose wires, check for corrosion
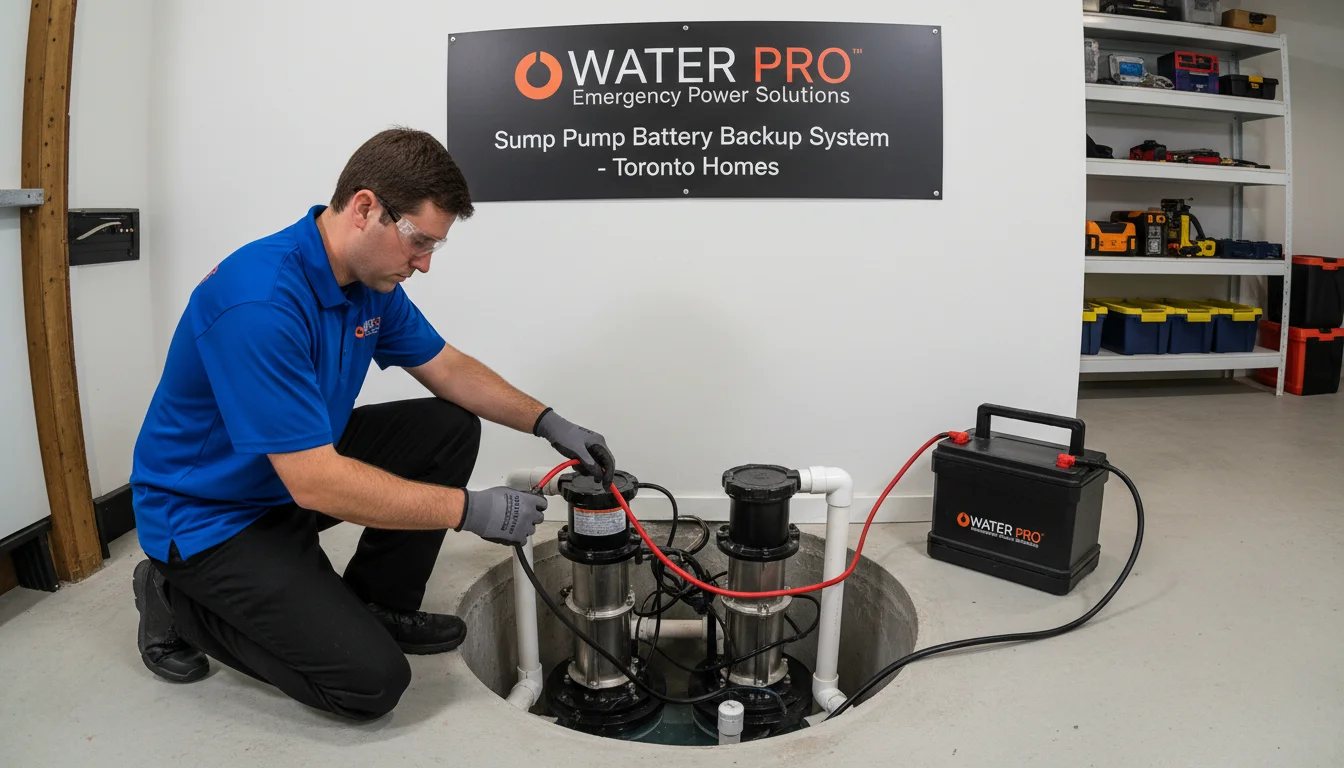
- Consider battery backup system—prevents failure during power outages (common in Toronto storms)
💡 Pro Tip from Mike
Mark your calendar. Set 3 recurring phone reminders: (1) Last week of February (pre-spring thaw test), (2) First week of June (pre-summer storm season), (3) Last week of October (pre-freeze protection). These 15 minutes of testing prevent 95% of emergency flood calls I receive.
Toronto-Specific Maintenance Tips
Our unique climate and housing stock create specific challenges:
- Spring Thaw (March-April): Test twice in March—snowmelt causes 3x normal pump cycles
- Summer Storms (July-August): Test before major rain forecasts—rapid water influx stresses marginal floats
- Fall Leaves (September-November): Check for leaf debris in pit—can wedge tethered floats
- Winter Freeze (December-February): Ensure basement stays above 10°C—frozen discharge pipes cause backup
Upgrading Your Float Switch (When and Why)
If you've replaced the same tethered float twice in 3 years, or your vertical float sticks monthly despite cleaning, it's time to upgrade, not repair. Here's when upgrading makes financial sense:
Upgrade from Tethered to Vertical If:
- Your sump pit is 16-20 inches diameter (adequate space for vertical rod)
- Tethered float has failed 2+ times in past 3 years
- You want more reliable operation with less maintenance
- Cost: $150-220 professional installation (pays for itself after second failure prevention)
Upgrade to Electronic Switch If:
- Sump pit is smaller than 16 inches diameter (tight Toronto basements)
- You've had multiple mechanical float failures
- You want the most reliable system possible (vacation homes, rental properties)
- Your basement has finished space with expensive flooring/furniture
- Cost: $220-350 professional installation (3-5x longer lifespan than mechanical floats)
Consider Diaphragm Switch If:
- Your sump pit collects heavy sediment or debris
- You live in an older Toronto home with clay tile weeping system (common in pre-1970 homes)
- Mechanical floats stick frequently due to dirt/grit
- Cost: $180-280 professional installation
Frequently Asked Questions
Float switch failure causes 60% of all sump pump breakdowns in Toronto. The float mechanism gets stuck, tangled, or waterlogged, preventing the pump from turning on when water rises. Regular testing (monthly) catches 90% of float switch problems before pump failure.
Pour 5 gallons of water into the sump pit. The float should rise and trigger the pump within 2-3 seconds. For vertical floats, lift manually to chest level. For tethered floats, lift the ball until it's horizontal. If the pump doesn't activate immediately, the float switch has failed.
The 4 main types are: (1) Vertical float switch - rod slides up/down, costs $25-40, most reliable. (2) Tethered float - ball on cable, costs $20-35, prone to tangling. (3) Electronic switch - pressure sensor, costs $60-120, most accurate. (4) Diaphragm switch - air pressure activated, costs $45-80, requires no moving parts in water.
Yes, if you're comfortable with basic electrical work. Turn off power at the breaker, disconnect the old float, install the new switch following manufacturer wiring diagrams, and test thoroughly. DIY replacement costs $25-120 (parts only). Professional installation costs $150-350 including parts and 90-day warranty.
Tethered floats tangle around discharge pipes, get wedged against pit walls, or the cable deteriorates from constant submersion. Solution: Switch to a vertical float ($25-40) or electronic switch ($60-120) for more reliable operation in tight sump pits.
Vertical floats last 5-7 years, tethered floats 3-5 years, electronic switches 7-10 years, and diaphragm switches 8-12 years. Lifespan depends on usage frequency, water quality, and pit size. Toronto homes with high water tables may see shorter lifespans due to constant cycling.
Electronic switches work best in small pits (14-18 inches diameter) because they have no moving parts that tangle. Vertical floats need 18+ inches clearance. Tethered floats require 20+ inches to prevent tangling. For tight Toronto basements, upgrade to electronic ($60-120) or diaphragm ($45-80) switches.
Yes, waterlogged floats must be replaced immediately. Water inside the float makes it too heavy to rise, preventing pump activation. This leads to basement flooding during heavy rain. Replacement costs $25-40 for tethered/vertical floats. Inspect floats every 3 months for water infiltration.
The Bottom Line: Float Switches Are Your First Line of Defense
Here's what 28 years of emergency sump pump calls have taught me: The most expensive pump in the world is useless if the float switch doesn't trigger it. That $30 component is the difference between a dry basement and $5,000+ in flood damage.
Don't wait for failure. Test monthly, replace proactively every 5-7 years, and upgrade to more reliable switch types if you've had repeat failures. The hour you spend on preventive maintenance saves weeks of insurance claims and renovation headaches.
Sump Pump Float Switch Problems?
Licensed plumbers available 24/7 across the GTA. Same-day service, upfront pricing.
📞 Call (647) 554-435690-day warranty • 5,234+ families helped • Since 2000
Related Articles

About Mike Thompson
Master Plumber • License #MP-2847 • 28 Years Experience
Mike has installed and repaired over 3,400 sump pump systems across the GTA since 1996. He specializes in flood prevention technology and writes practical guides to help Toronto homeowners protect their basements. Member of the Canadian Institute of Plumbing & Heating (CIPH) and Ontario Plumbing Inspectors Association (OPIA).
🏆 2023 Best Plumber Award - Toronto Home Services