
Quick Answer: What Does a Sump Pump Check Valve Do?
A sump pump check valve prevents water from flowing backward into the sump pit after the pump shuts off. Without one, discharged water returns to the pit, forcing the pump to cycle repeatedly—reducing efficiency by 30% and dramatically shortening pump lifespan. Check valves cost $15-$60 for the part, plus $150-$300 for professional installation in Toronto.
Key Takeaways
- Check valves prevent backflow, reducing pump cycling by 30%
- Four main types: swing ($15-$35), ball ($25-$50), spring-loaded ($30-$60), inline ($20-$40)
- Common problems: stuck open/closed, debris buildup, worn seals
- Proper installation: 6-12 inches above pump, arrow pointing away from pump
- Replace every 3-5 years or when pump cycles excessively
If your sump pump is running every 30 seconds even during dry weather, or you hear loud "water hammer" banging in your pipes, your check valve is probably failing. I've seen homeowners in Toronto, Mississauga, and Brampton replace pumps prematurely, not realizing a $30 check valve was the real culprit. For immediate help, call (647) 554-4356 for expert diagnosis.
After 28 years of installing and repairing sump systems across the GTA, I've learned that check valves are the most overlooked—and most critical—component. This guide covers everything you need to know about selecting, installing, and troubleshooting sump pump check valves in Toronto homes.
What Is a Sump Pump Check Valve?
A check valve is a one-way valve installed in the sump pump discharge pipe. It allows water to flow out of the sump pit but prevents it from flowing backward when the pump shuts off. Think of it as a door that only swings one direction—water can exit, but it can't re-enter.
Why Check Valves Matter: The 30% Efficiency Impact
Here's the problem without a check valve: when your pump shuts off, gravity pulls the water in the discharge pipe back down into the pit. This can be 5-15 gallons depending on your pipe length. The pump immediately detects rising water and turns back on—only to pump the same water out again.
Real-world impact: A properly functioning check valve reduces pump cycling by 30%, extends motor lifespan by 40%, and saves $25-$60 annually in electricity costs. Over a 10-year pump lifespan, that's $250-$600 in energy savings alone—not counting the avoided cost of premature pump replacement.
💡 Pro Tip from Mike
Listen to your sump pump during dry weather. If it's cycling every 30-60 seconds, your check valve has likely failed open. A healthy pump should only run during rain or snowmelt. Need a professional assessment? Call (647) 554-4356 for a free inspection.
Types of Sump Pump Check Valves
Not all check valves are created equal. Toronto's climate and water conditions affect which type works best.
Swing Check Valve
$15-$35 • Best for quiet operation
- Hinged flap swings open when water flows
- Quietest operation (no slam)
- Good for horizontal installations
- Can accumulate debris
- Slower closing speed
Ball Check Valve
$25-$50 • Most reliable
- Ball floats up to seal when flow stops
- Self-cleaning design
- Works in any orientation
- Less prone to debris jamming
- Clear housing available
Spring-Loaded Valve
$30-$60 • Fastest closing
- Spring forces valve closed
- Prevents backflow instantly
- Compact design
- Can cause water hammer
- Spring can wear out
Inline Check Valve
$20-$40 • Space-saving
- Fits inside standard PVC pipe
- No external housing needed
- Easy DIY installation
- Hard to inspect/clean
- Must replace entire valve
Which Type Should You Choose?
For most Toronto homes, I recommend ball check valves. They're self-cleaning (critical for our clay-heavy soil), work in any position, and rarely jam. The clear housing models let you visually inspect for debris without disassembly.
Avoid spring-loaded valves in homes with older plumbing—the rapid closing causes water hammer that can damage joints in 1940s-1970s copper and galvanized pipes common in neighborhoods like Rosedale, Forest Hill, and the Beaches.
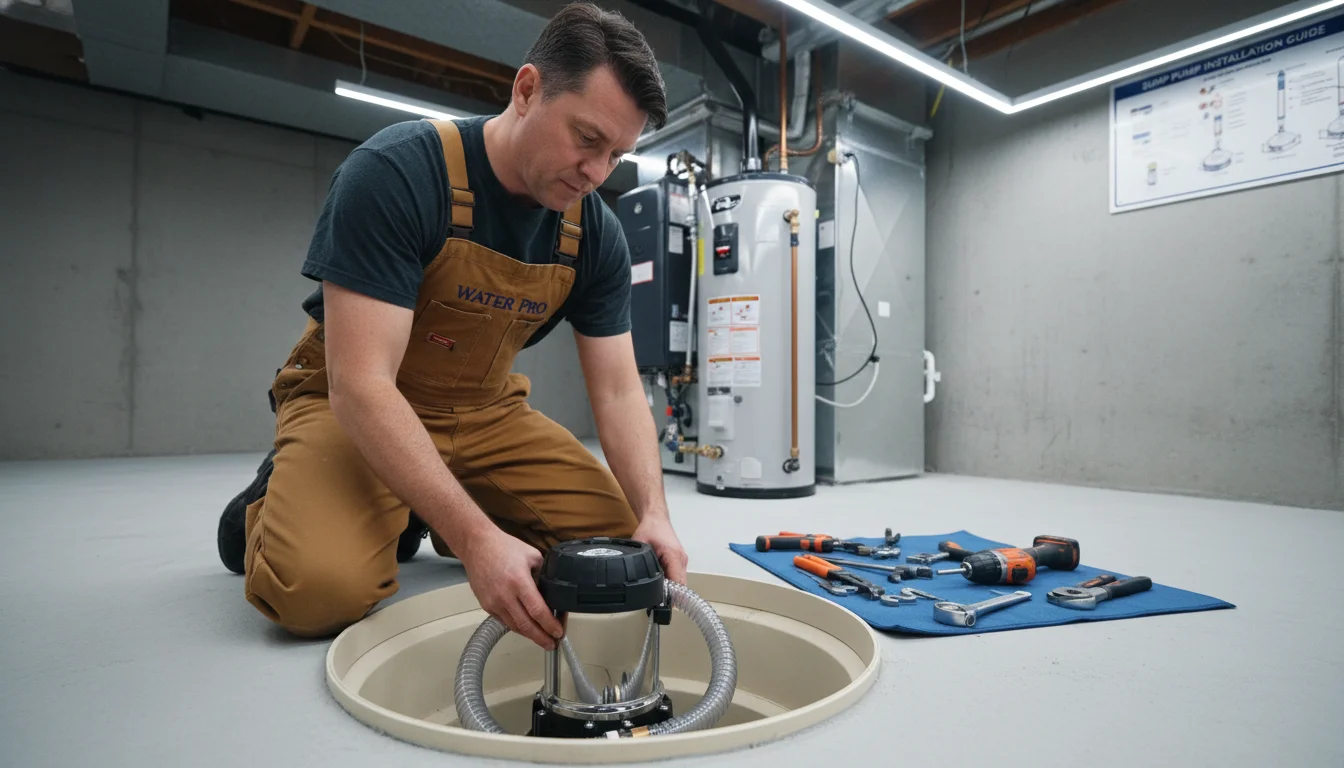
Proper Check Valve Installation Position
Critical Installation Rules
- Height placement: Install 6-12 inches above the sump pump outlet. Too close and vibration damages the valve; too far and excessive water column weight increases back pressure.
- Flow direction: The arrow on the valve body MUST point away from the pump (toward discharge). Installing it backward is the #1 DIY mistake I see.
- Vertical orientation: Most check valves work best installed vertically. Horizontal installation can cause swing valves to hang open.
- Access unions: Install threaded unions or couplings on BOTH sides of the check valve for easy future removal and cleaning.
- Support the pipe: Use pipe hangers to prevent discharge line weight from stressing the valve body.
⚠️ Warning: Common Installation Mistake
Installing the check valve at the top of the discharge pipe (near the exterior exit) defeats the purpose. The entire vertical pipe section fills with water and drains back into the pit. Always install 6-12 inches above the pump outlet. Need professional installation? Call (647) 554-4356 for same-day service.
Common Check Valve Problems
Problem 1: Valve Stuck Open (Water Backflow)
Symptoms: Pump cycles every 30-60 seconds even in dry weather, constant motor hum, higher electricity bills.
Causes: Debris preventing seal (gravel, sediment), worn rubber gasket, mineral buildup from hard water, or physical damage from freezing.
Fix: Remove valve, inspect for debris, clean with vinegar solution for mineral deposits, replace gasket if worn. If damage is extensive, replace the entire valve ($15-$60).
Problem 2: Valve Stuck Closed (Back Pressure)
Symptoms: Pump motor strains, unusual grinding noise, pump runs but water doesn't discharge, circuit breaker trips frequently.
Causes: Large debris lodged in valve (common with older clay tile drains), frozen discharge line, spring failure in spring-loaded valves.
Fix: IMMEDIATELY turn off pump to prevent motor burnout. Remove and disassemble valve, clear obstruction. If frozen, thaw discharge line and insulate exposed sections.
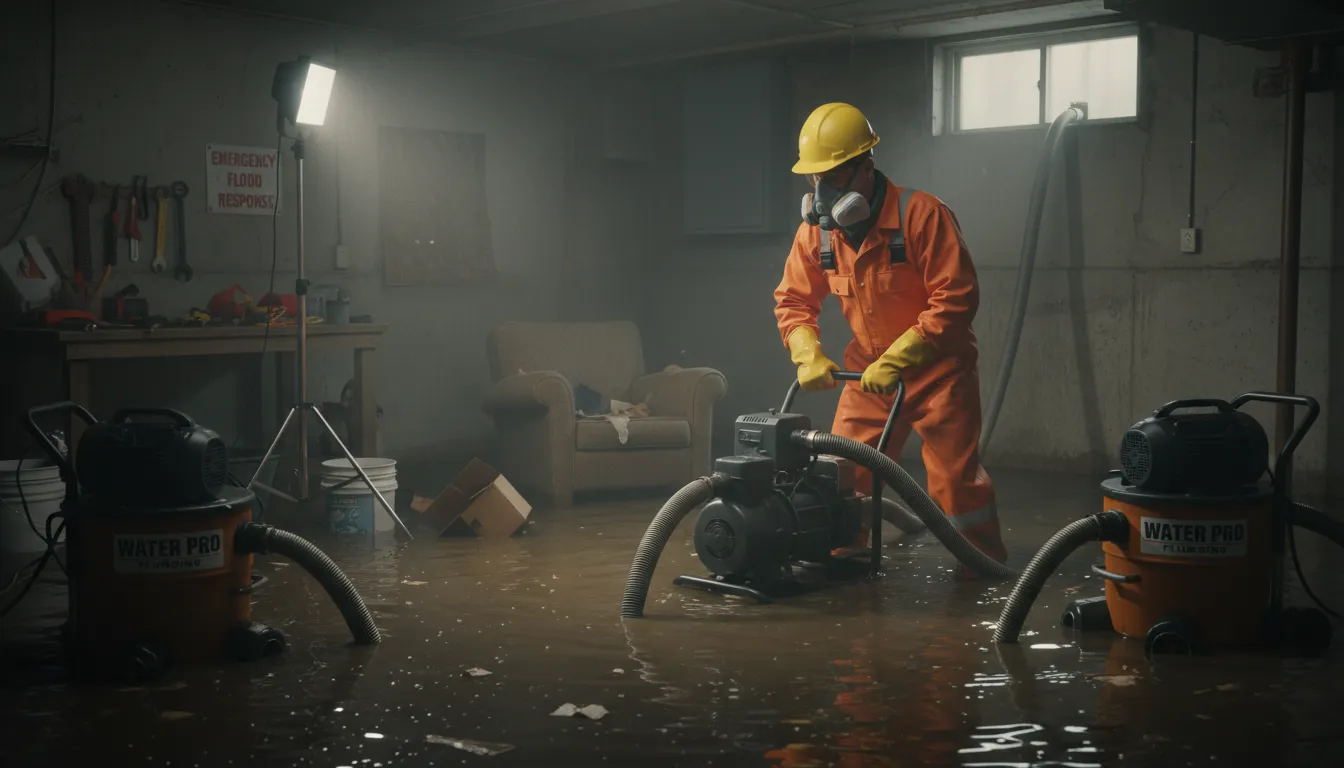
⚠️ Emergency: Stuck-Closed Valve Can Destroy Your Pump
A stuck-closed check valve creates back pressure that can burn out the pump motor in 15-30 minutes of continuous operation. If you hear grinding or the pump feels hot to touch, shut off power immediately and call (647) 554-4356 for emergency service. We're available 24/7.
Problem 3: Water Hammer (Banging Pipes)
Symptoms: Loud banging or hammering sound when pump shuts off, vibrating pipes, loose pipe hangers over time.
Causes: Spring-loaded valve closing too quickly, excessive water velocity in undersized pipes, no shock arrestor installed.
Fix: Replace spring-loaded valve with slower-closing swing valve, install water hammer arrestor near check valve, ensure discharge pipe is properly sized (1.5" minimum for most pumps).
Problem 4: Debris Accumulation
Symptoms: Intermittent operation, valve works some cycles but fails others, visible sediment in clear housing.
Causes: Toronto's clay-heavy soil, lack of sump basket/filter, deteriorating clay tile drains (common in pre-1950s homes), construction debris.
Fix: Install sump basket filter to catch debris before it reaches pump, clean check valve annually during spring maintenance, consider upgrading to self-cleaning ball valve.
Check Valve Cost Breakdown (Toronto 2025)
| Item/Service | Cost Range | Notes |
|---|---|---|
| Swing Check Valve | $15 - $35 | 1.5" to 2" size, PVC or brass |
| Ball Check Valve | $25 - $50 | Clear housing +$5-10 |
| Spring-Loaded Valve | $30 - $60 | Premium models with adjustable spring |
| Inline Check Valve | $20 - $40 | Requires cutting pipe for installation |
| PVC Fittings & Cement | $10 - $25 | Couplings, unions, primer, cement |
| Professional Installation | $150 - $300 | Includes labor, testing, warranty |
| Emergency After-Hours Service | $250 - $450 | Evenings, weekends, holidays |
| Total DIY Project | $25 - $85 | Valve + fittings only |
| Total Professional Install | $165 - $360 | Parts + labor + warranty |
💡 Pro Tip from Mike
Clear-housing ball check valves cost $5-10 more but save hours of troubleshooting. You can visually inspect for debris without disassembly—worth every penny. Water Pro installs Zoeller ($45) and Liberty Pumps ($40) clear ball valves with lifetime warranty. Call (647) 554-4356 for a quote.
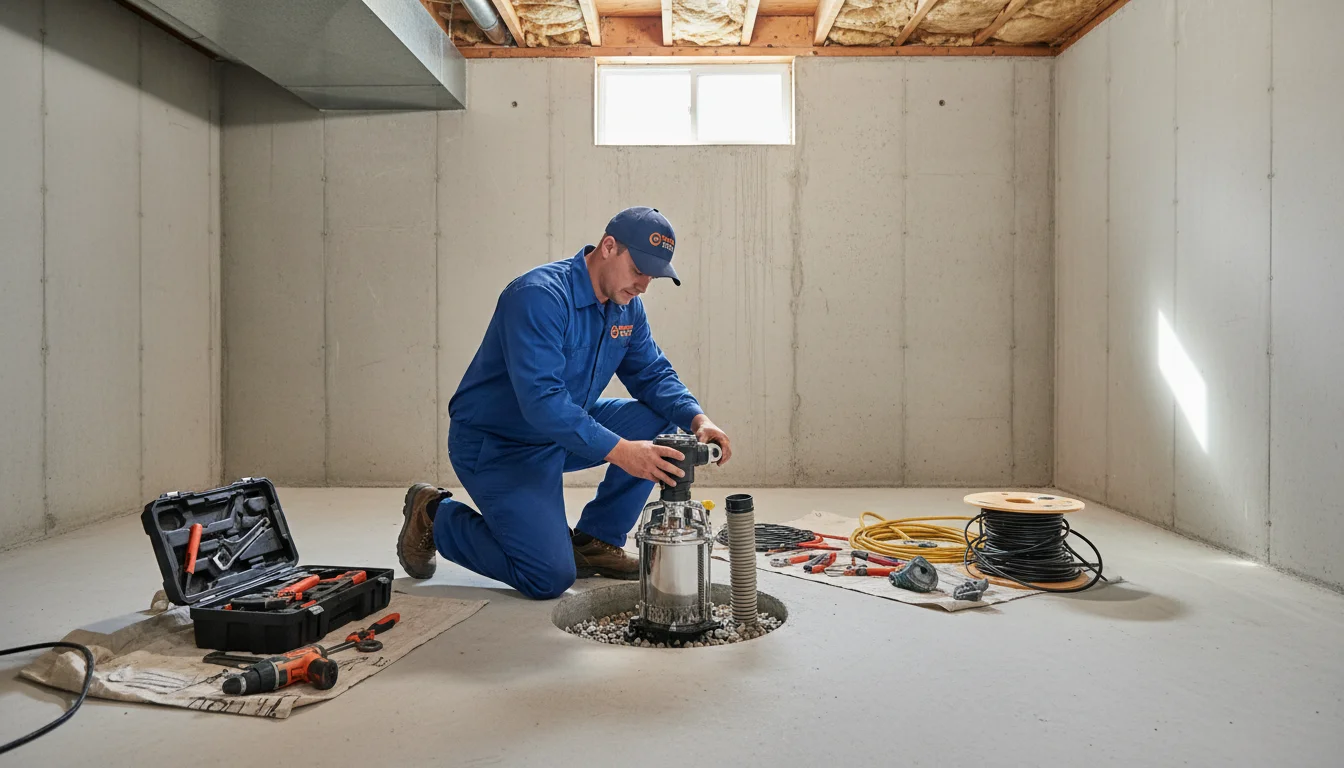
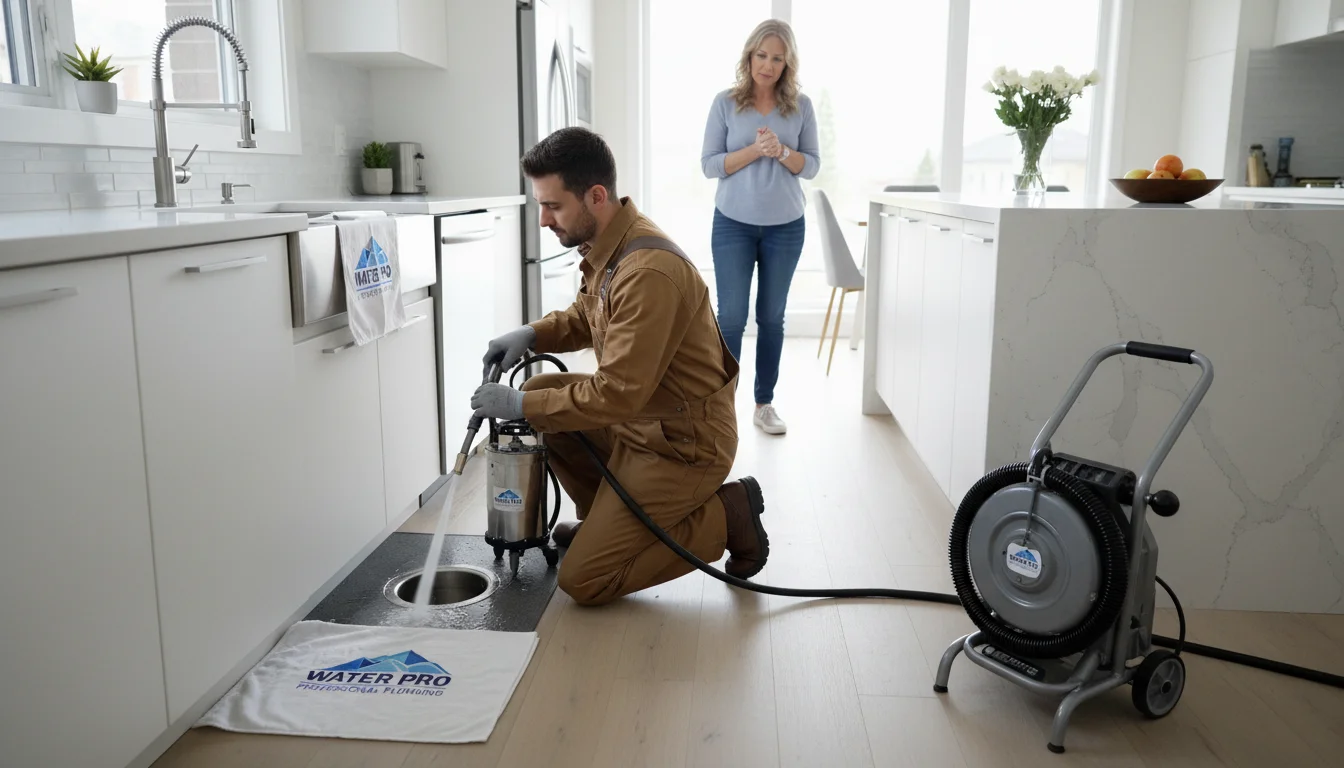
DIY Check Valve Installation Guide
If you're comfortable with basic plumbing and have the right tools, check valve installation is a manageable DIY project. However, improper installation can cause pump failure—consider professional installation if unsure.
Tools & Materials Needed
- Check valve appropriate for your pipe size (usually 1.5" or 2")
- PVC primer and cement (if using PVC discharge pipe)
- Two threaded unions or couplings (for easy future removal)
- PVC cutter or hacksaw
- Measuring tape
- Marker or pencil
- Pipe hangers and straps
- Teflon tape (for threaded connections)
Step-by-Step Installation
- Turn off power: Unplug sump pump or turn off circuit breaker. Safety first.
- Measure and mark: Measure 6-12 inches above pump outlet. Mark cut points allowing room for valve and unions.
- Cut discharge pipe: Use PVC cutter for clean cuts. Deburr edges with sandpaper.
- Dry-fit components: Test-fit valve and unions WITHOUT cement to ensure proper alignment. Note arrow direction on valve.
- Prime and cement: Apply purple primer to all mating surfaces, then PVC cement. Work quickly—cement sets in 30 seconds.
- Install unions: This allows future valve removal without cutting pipe. Use Teflon tape on threads.
- Support the pipe: Add pipe hangers within 12" of valve to prevent stress on joints.
- Test operation: Fill pit with water, restore power, observe pump cycle. Valve should close when pump stops.
- Check for leaks: Inspect all joints during and after first cycle. Tighten unions if needed.
⚠️ When to Call a Professional
DIY installation works if you have basic plumbing skills. However, call a professional if: 1) Your discharge pipe is cast iron or galvanized steel (requires threaded fittings), 2) You're not comfortable cutting pipes, 3) Your sump pit has multiple pumps or complex plumbing. Water Pro charges $150-$250 for standard installation— includes testing and warranty. Call (647) 554-4356 for a free quote.
Check Valve Maintenance Schedule
Regular maintenance prevents 80% of check valve failures. Here's what Toronto homeowners should do:
Annual Spring Inspection (April-May)
- Remove and inspect valve for debris, mineral buildup, or wear
- Clean with white vinegar solution (50/50 mix) for mineral deposits
- Check rubber seals/gaskets for cracks or deformation
- Test valve manually—flapper/ball should move freely
- Inspect unions for cracks or leaks
Monthly During Spring Thaw (March-April)
- Listen for excessive cycling (more than once per hour during dry weather)
- Check for water hammer sounds
- Verify discharge pipe is draining properly (check exterior outlet)
Quarterly Year-Round
- Pour 5 gallons of water into pit to trigger pump cycle
- Observe valve operation—should prevent backflow when pump stops
- Check for unusual sounds or vibrations
Replacement Indicators
Replace your check valve if you notice:
- Pump cycling every 30-60 seconds during dry weather
- Visible cracks in valve housing
- Rubber seal is hard, cracked, or deformed
- Valve has been in service 5+ years (especially in hard water areas)
- Water hammer despite proper installation
Need a professional maintenance check? Water Pro offers annual sump system inspections for $99— includes check valve cleaning, pump testing, and battery backup check. Call (647) 554-4356 to schedule.
Toronto-Specific Considerations
Hard Water and Mineral Buildup
Toronto's water hardness averages 120-140 mg/L (moderately hard). Mineral deposits accumulate faster in check valves here than in soft water regions. Homes in Scarborough, North York, and Etobicoke with wells or older municipal connections see more mineral buildup.
Solution: Use ball check valves with clear housings for easy inspection. Clean annually with vinegar solution, or install inline water filter before sump pump (not common, but effective for severe cases).
Clay Soil and Sediment
The GTA sits on clay-heavy soil—particularly in the former Lake Iroquois basin (most of Toronto, Mississauga, Oakville). Clay particles and silt wash into sump pits during heavy rain, especially in homes with older clay tile foundation drains.
Solution: Install sump basket with fine mesh to catch sediment before it reaches the pump. Upgrade to self-cleaning ball valve. Consider foundation drain replacement if sediment is excessive (sign of deteriorating tiles).
Freeze Protection for Exterior Discharge
Toronto winters regularly hit -20°C to -30°C. Exposed discharge pipes freeze solid, creating back pressure that can damage pumps and check valves. Neighborhoods on ravine edges—Moore Park, Rosedale, High Park—face extra freeze risk due to wind exposure.
Solution: Insulate exposed discharge pipe with foam sleeves, ensure proper slope for drainage (1/4" per foot minimum), install freeze-proof discharge adapter, or use heat trace cable in extreme cases. Never let water pool at discharge outlet—it backflows and freezes.
Frequently Asked Questions
A sump pump check valve prevents water from flowing back into the sump pit after the pump shuts off. Without one, discharged water returns to the pit, forcing the pump to cycle repeatedly—reducing efficiency by 30% and shortening pump lifespan significantly.
The four main types are: 1) Swing check valves ($15-$35, quietest operation), 2) Ball check valves ($25-$50, most reliable), 3) Spring-loaded check valves ($30-$60, fastest closing), and 4) Inline check valves ($20-$40, space-saving design). Each type has specific advantages for different installations.
In Toronto, check valve costs range from $15-$60 for the part, plus $150-$300 for professional installation. Total project cost averages $165-$360. DIY installation saves labor costs but requires plumbing knowledge and proper tools.
Check valves stick due to: debris buildup (most common), worn rubber seals, mineral deposits from hard water, or freezing in cold discharge lines. Stuck-open valves cause water backflow and excessive pump cycling. Stuck-closed valves create back pressure that can burn out the pump motor.
Install the check valve vertically in the discharge pipe, 6-12 inches above the sump pump. The arrow on the valve body must point away from the pump (toward discharge). Ensure unions or couplings on both sides for easy future removal and cleaning.
Replace check valves every 3-5 years or when you notice: frequent pump cycling, water hammer sounds, visible debris in the valve, or reduced pump efficiency. Annual inspection during spring maintenance helps catch problems early.
DIY installation is possible with basic plumbing skills. You'll need: PVC cutter, primer/cement, check valve ($15-$60), and unions for easy removal. However, improper installation can cause pump failure—professional installation ($150-$300) includes testing and warranty.
Water hammer occurs when the check valve slams shut too quickly, creating a pressure wave. Spring-loaded valves close faster than swing valves, making them more prone to water hammer. Installing a shock arrestor or switching to a slower-closing swing valve solves the problem.
The Bottom Line
A properly functioning check valve is critical to sump pump longevity and efficiency. Without one, your pump works 30% harder, cycles 2-3 times more frequently, and wears out 40% faster. The $15-$60 cost of a check valve saves hundreds in premature pump replacement and energy waste.
For Toronto homeowners, I recommend ball check valves with clear housings—they're self-cleaning, easy to inspect, and reliable in our clay-heavy soil and hard water conditions. Install 6-12 inches above the pump, ensure proper flow direction, and inspect annually during spring thaw.
Sump Pump Problems? We're Here to Help
Expert check valve installation, repair, and full sump system service. Same-day appointments available.
📞 Call (647) 554-435624/7 emergency service • 90-day guarantee • 5,234+ families helped
Related Articles
About Mike Thompson
Master Plumber • License #MP-2847 • 28 Years Experience
Mike has installed over 3,000 sump pump systems across the GTA since 1996. He specializes in basement waterproofing and writes practical guides to help Toronto homeowners protect their homes from flooding. Member of the Canadian Institute of Plumbing & Heating (CIPH) and Ontario Plumbing Inspectors Association (OPIA).
🏆 2023 Best Plumber Award - Toronto Home Services • Featured in Toronto Star, BlogTO